Mario gilt als bekanntester Gaming-Charakter aller Zeiten, doch wissen viele wissen garnicht genau, wie seine Karriere als hüpfender Klempner mit der roten Mütze überhaupt begann.
Hier sind einige interessante Fakten über den Ursprung und die Entwicklung von Super Mario:
Fakt 1: Mario startete im Schatten von Donkey Kong
Im Jahr 1981 veröffentlichte Nintendo das Automatenspiel „Donkey Kong“, in dem ein großer Affe eine Prinzessin entführte und Fässer nach ihrem Retter warf. Der Retter der Prinzessin war damals noch kein anderer als Mario, allerdings trug er den simplen Namen „Jumpman“ und arbeitete als Zimmermann, nicht als Klempner.
Fakt 2: Marios Stimme stammt von US-Schauspieler
Die unverkennbaren Rufe von Mario wie „It’s a me, Mario!“ und „Mamma mia!“ sind legendär. Seit 1992 leiht der US-Schauspieler Charles Martinet der berühmten Spielefigur seine einzigartige Stimme. Chales Martinet kam nur durch einen Zufall zu dieser Rolle kam.
In einem Interview mit dem „Spiegel“ verriet er, dass er damals relativ unbeabsichtigt in einem Nintendo-Vorsprechen gelandet war. Die Juroren gaben ihm die Anweisungen, einen italienischen Klempner aus Brooklyn zu spielen, der mit Kindern spricht – und Martinet bekam die Rolle als Mario und sogar noch weitere, wie Luigi und wario.
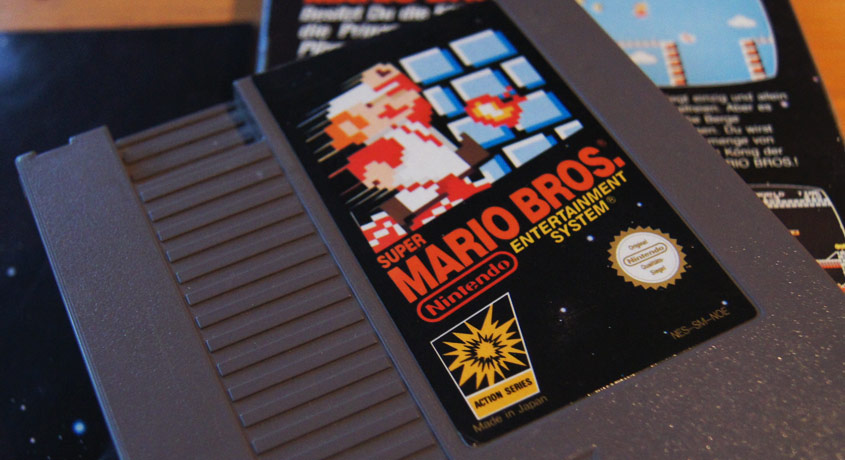
Fakt 3: Marios Outfit ist pixelbedingt
Marios einzigartiges Design, bestehend aus Mütze, Schnäuzer, blauer Latzhose und rotem Hemd, geht teilweise auf die technischen Beschränkungen der damaligen Zeit zurück. Da Spielfiguren in den frühen Zeiten der Videospielentwicklung nur aus wenigen Pixeln bestanden, war es schwierig, ihnen individuelle Merkmale zu verleihen.
Die Mütze und der Schnäuzer von Super Mario waren eine einfache Möglichkeit, ihm dennoch ein einzigartiges Aussehen zu geben. Außerdem verdecken sie seinen Mund und seine Haare, die damals nicht animiert werden konnten.
Fakt 4: Mario hat einen berühmten „Vater“
Shigeru Miyamoto, der japanische Spieledesigner, gilt als der Erfinder von Super Mario. Er ist auch bekannt für die Schaffung von anderen großen Nintendo-Franchises wie Donkey Kong, Star Fox und The Legend of Zelda. Miyamoto revolutionierte damals die Herangehensweise an Automatenspiele, indem er nicht nur auf Punktesammeln, sondern auch auf die Handlung eines Spiels setzte.
Fakt 5: Ein Nintendo-Vermieter gilt als Namensvetter
Im Jahr 1983 erhielt Mario seinen ikonischen Namen. Es wird vermutet, dass Mario nachdem damaligen Vermieter der Nintendo-Räumlichkeiten.
Es gibt auch Spekulationen, dass der Name von einer Pizzeria in der Nähe der Nintendo-Firmenzentrale stammt, die „Mario and Luigi’s“ hieß. Du möchtest weitere spannende Videos entdecken – dann schau doch mal hier und aboniere unseren Kanal. Vielen Dank für Deinen Support!
Hier die 5 Fakten zu Super Mario im Video entdecken!